> ## Documentation Index
> Fetch the complete documentation index at: https://docs.aodeploy.com/llms.txt
> Use this file to discover all available pages before exploring further.
# Introduction
> Deploy AI agents to production in minutes, no infrastructure to build.
## What is AO?
AO is the execution layer for AI agents. It sits on top of the framework you're already using LangChain, LangGraph or CrewAI (other frameworks coming soon) and handles everything you'd otherwise have to build yourself.
From local to production in under 5 minutes.
## What AO handles for you
Exponential backoff, configurable max retries, and timeouts, all defined in
your `ao.toml`.
Every run is checkpointed. If something fails, you know exactly where and
why.
Full step-level logging: tool calls, inputs, outputs, timestamps, all
visible in your dashboard.
Run agents on a cron schedule without managing any infrastructure.
## How it works
You keep your agent code exactly as-is. AO wraps the execution runtime around it.
```bash theme={null}
ao init # creates ao.toml in your project
ao deploy # builds and deploys your agent
ao run --deployment --input '{"messages": ["your input"]}'
```
No FastAPI to wire up. No Celery workers to manage. No Redis to configure. Just push your code and AO handles the rest.
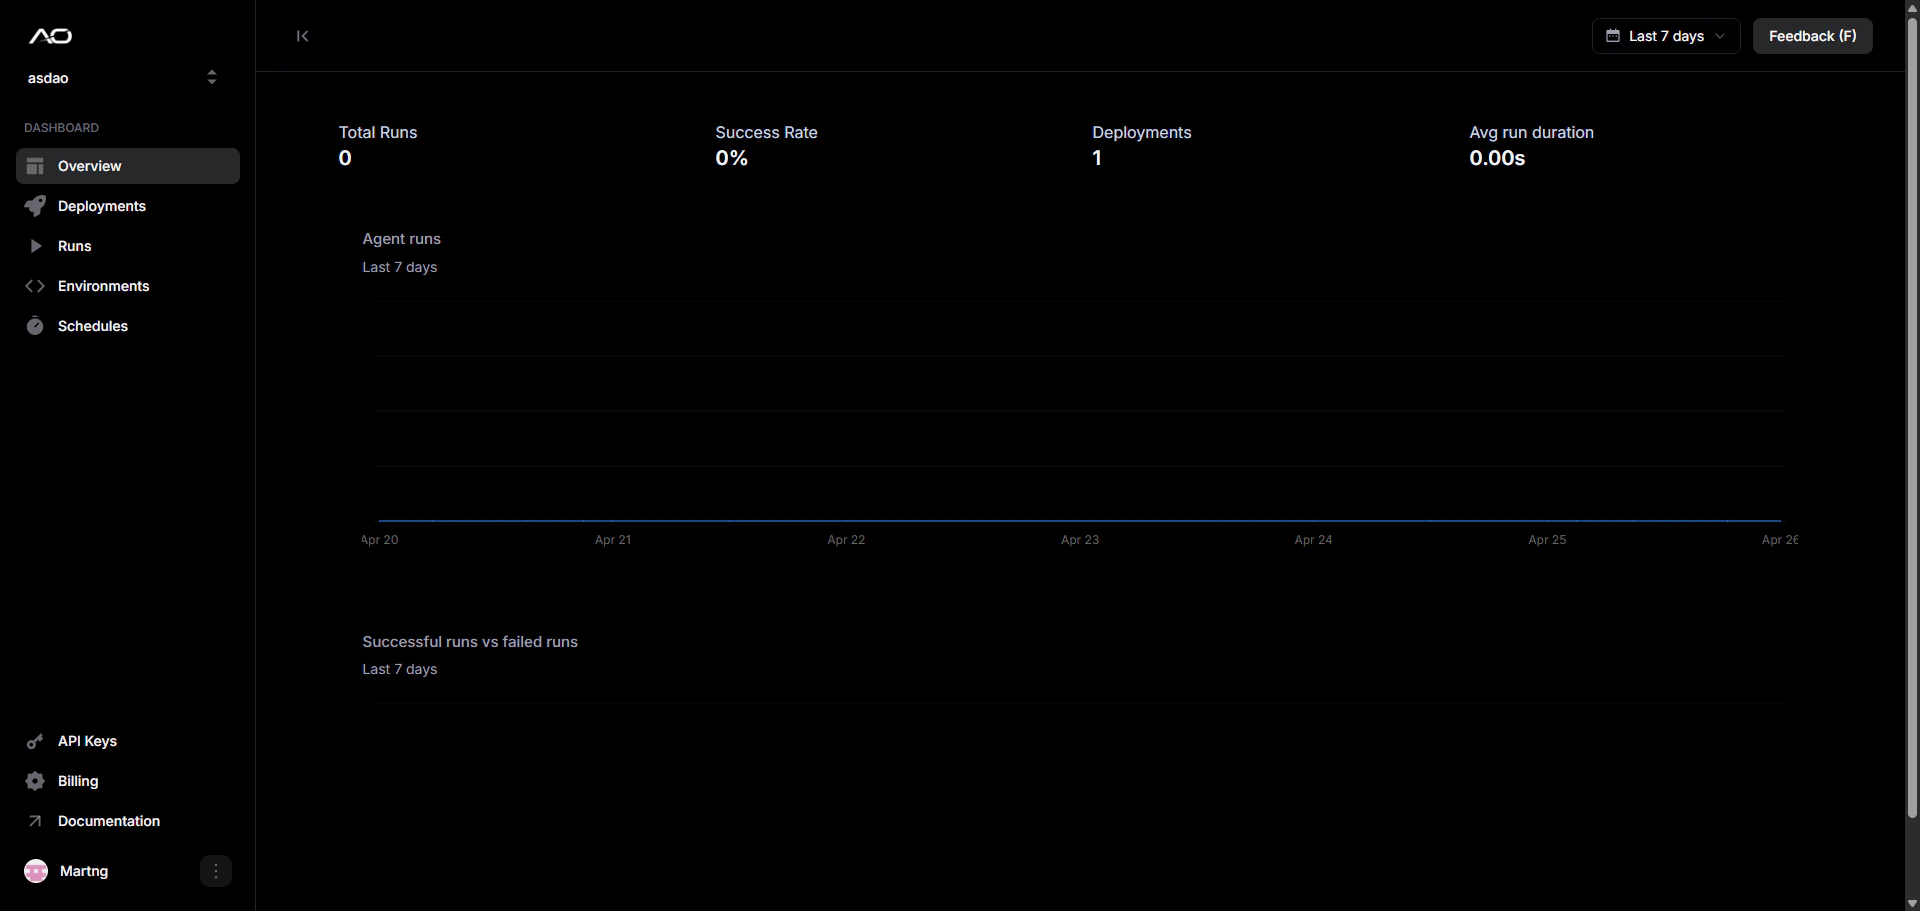
Once deployed, every agent gets a public production URL visible on your deployment dashboard you can call from anywhere:
```
Production URL: https://my-project.aodeploy.com
```
Your dashboard overview should look something like this:
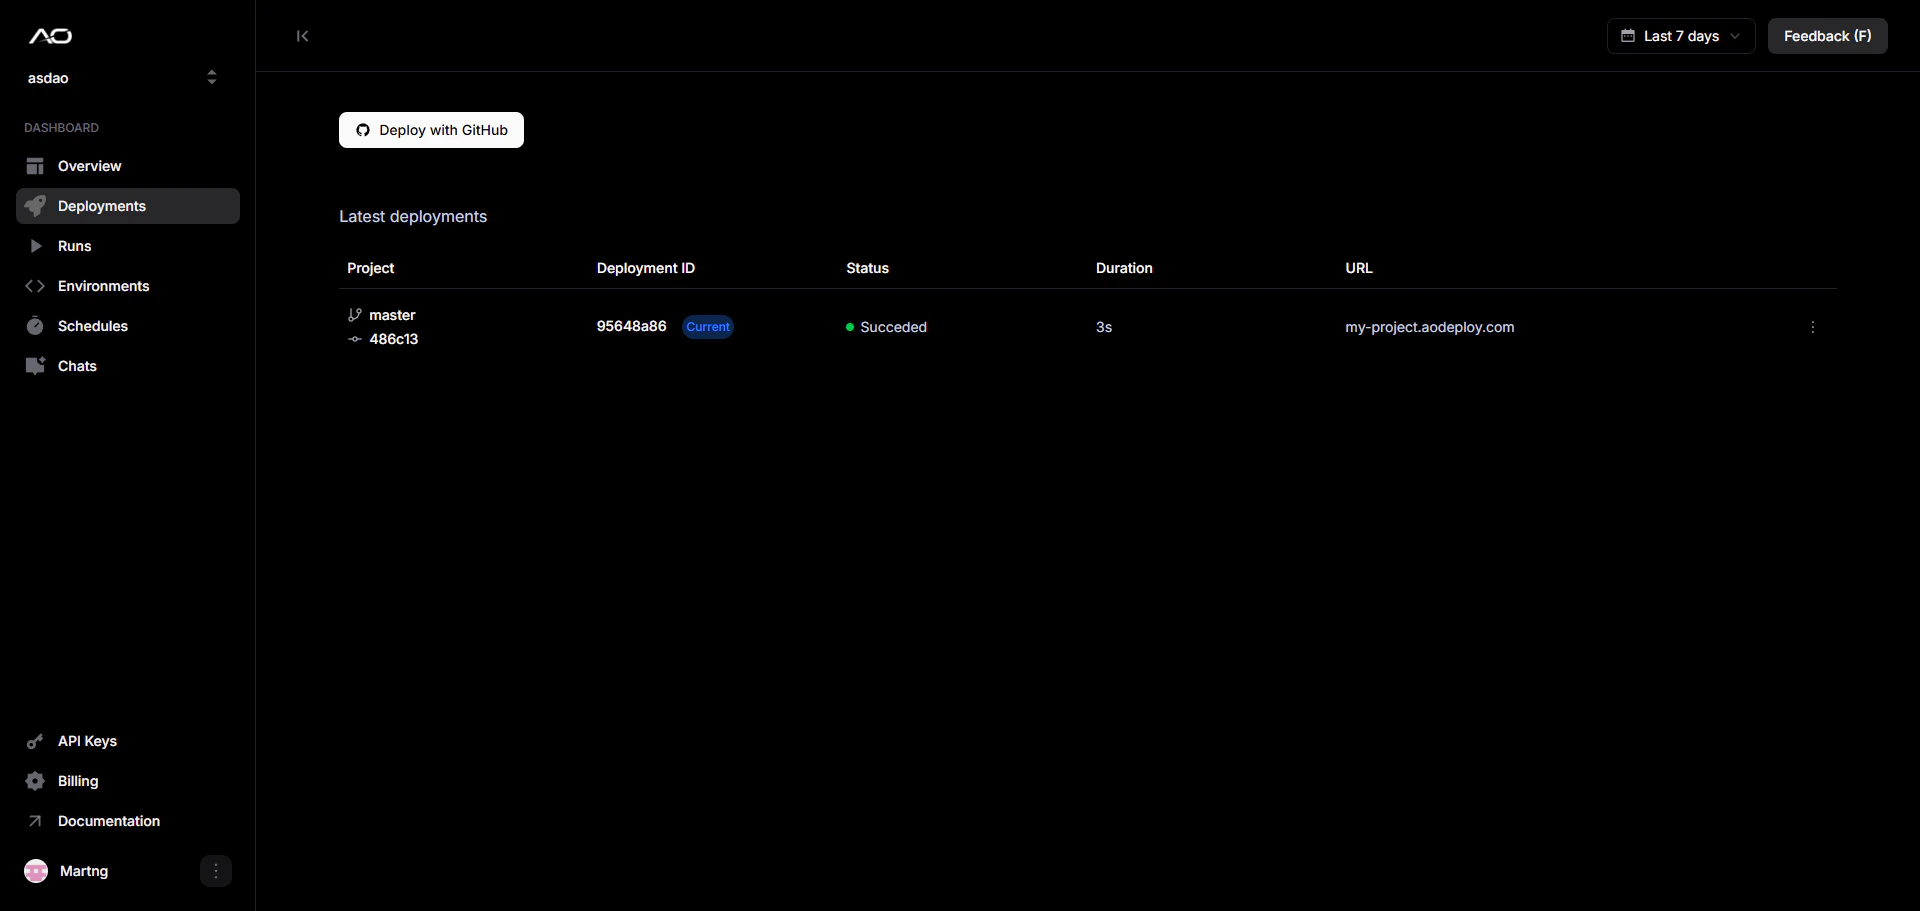
 ## Deploy with GitHub
You can also deploy with GitHub, it takes less than a minute. Your project must have an `ao.toml` file.
## Deploy with GitHub
You can also deploy with GitHub, it takes less than a minute. Your project must have an `ao.toml` file.
 ## Get started
Deploy your first agent in minutes.
Full reference for all CLI commands.
Configure retries, timeouts, entrypoints, and scheduling.
Monitor runs, view logs, and manage deployments.
## Get started
Deploy your first agent in minutes.
Full reference for all CLI commands.
Configure retries, timeouts, entrypoints, and scheduling.
Monitor runs, view logs, and manage deployments.